Sunday, June 17, 2012

Carpet

Crossed a bunch more things off the slow car's list over the last few days!

x rebuild engine
x replace clutch
x resurface flywheel
x replace front pads and rotors
x replace broken uppipe
x replace downpipe gasket
x figure out why the heck my wastegate is stuck closed
x tune it once and for all
x replace right TGV sensor and get rid of CEL
x replace interior carpet
x change transmission fluid
x change diff fluid
replace the terrible coilovers with something that won't cause kidney failure
replace foglights
paint Supertones black
replace missing intake manifold nuts (ghetto, I know)
replace trim under steering wheel that's falling out
cargo tray
paint undercarriage with rust inhibitor
replace windshield
fix rusty a-pillar (got an estimate on this one, should be done soon)
change brake fluid
figure out how to make outside temp display in cluster read properly
replace 10 year-old stock headunit with something that plays my iPod
learn how to stop being such a perfectionist and live with the car the way it is

Ever since I bought the car, the carpet has looked like this:


You couldn't see it under the floor mat, but I knew it was there, and it really, really bothered me. Finally turned to Craigslist, found some STi carpet for $40 and tackled the job today.


It was an even 100 degrees out, so the job was hot and uncomfortable.


But the new carpet looks amazing, so it was totally worth it!


Tuesday, April 10, 2012

How To Make A Brake Job Take A Week

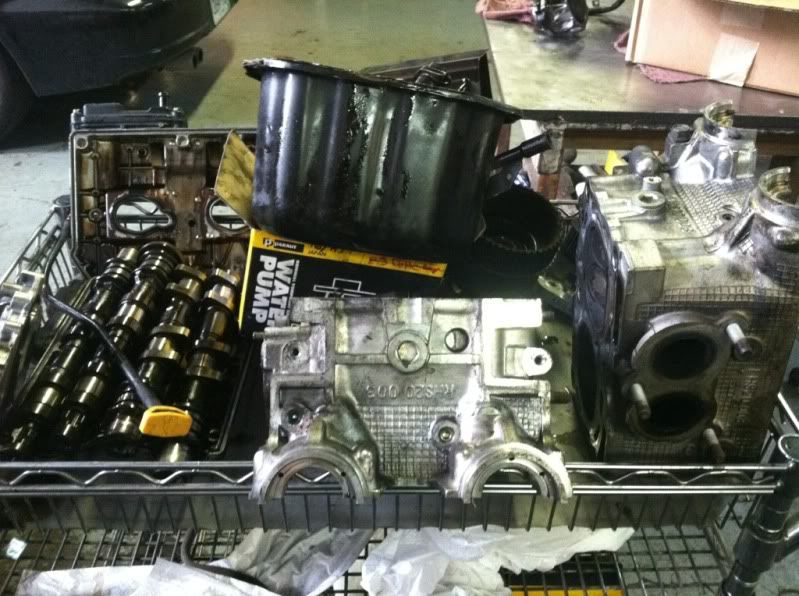
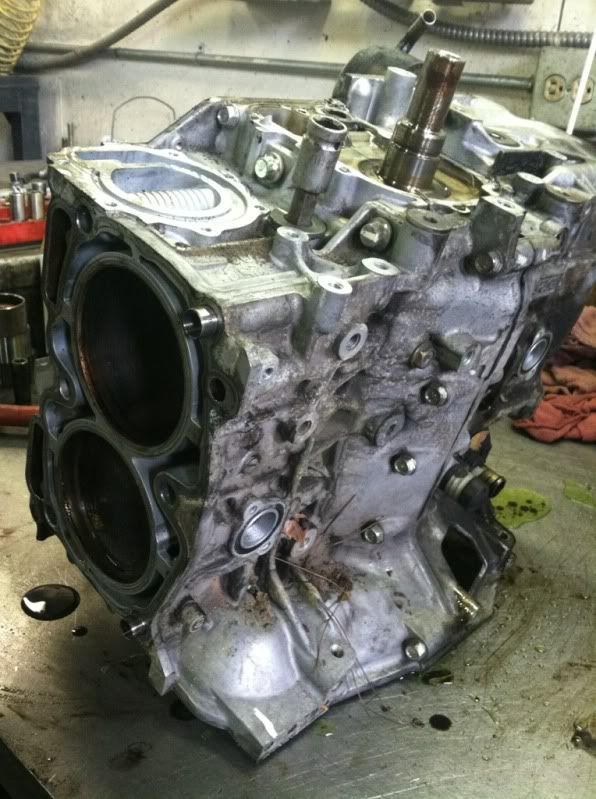
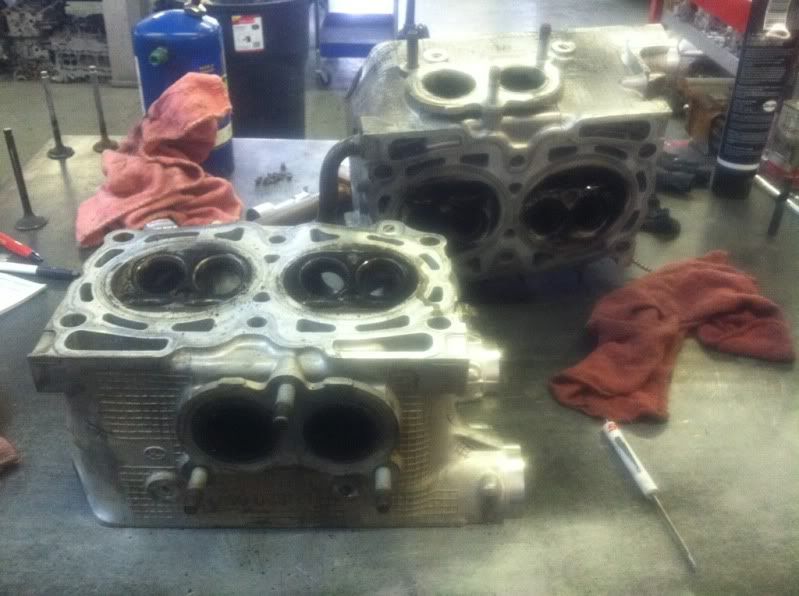
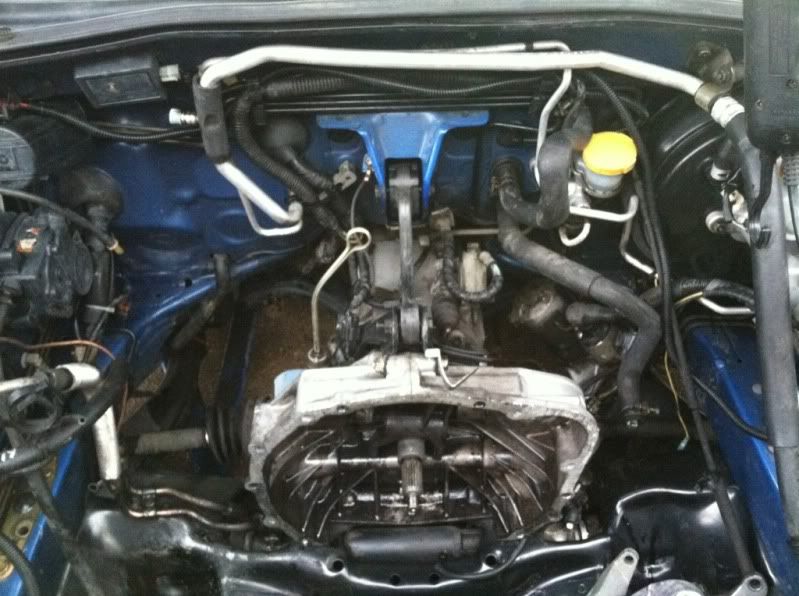
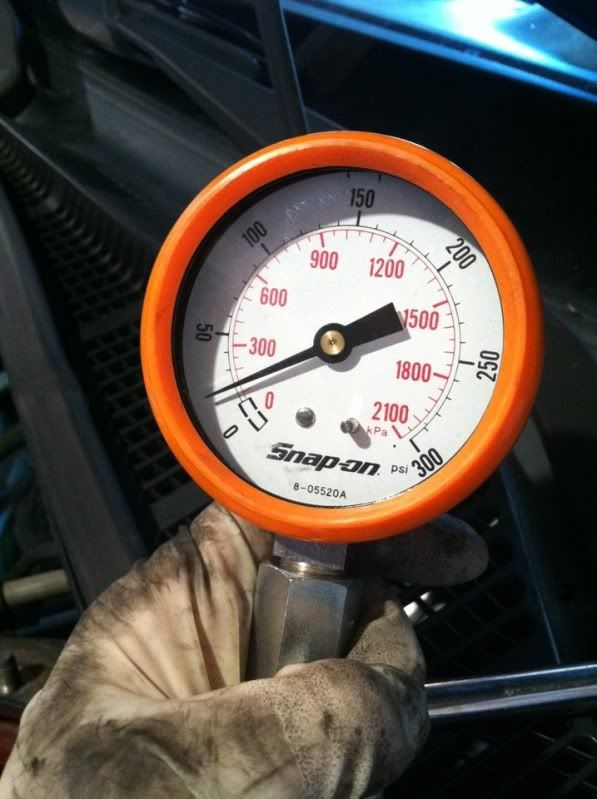
I haven't updated in awhile. Daily Driver Wagon is just about done. Got 1200 miles on the motor with no real hiccups, so that's pretty darn exciting. But that's not what this post is about. This post is about Stoptechs and how not to do a brake job.

DD wagon has a Stoptech ST-40 big brake kit, which is something I was REALLY excited about when I bought the car. I wanted a Stoptech BBK for my old WRX for years and years and could never justify spending the money. Big brakes are pretty. Big brakes look sexy. Big brakes are totally pointless on a daily driver, but who cares? They look cool! That is, until you have to replace the rotors. The original owner of the car bought the BBK in 2004. I have no idea how many miles were on the car when he installed it, but the previous owner put at least 60k on it, and there was one more owner in between. The rotors were pretty much toast, the slots were almost worn away, and the whole car would shake when the brakes were applied at speed. I didn't take a before picture, but trust me when I say it was time.

So I called up my pal Kai at 
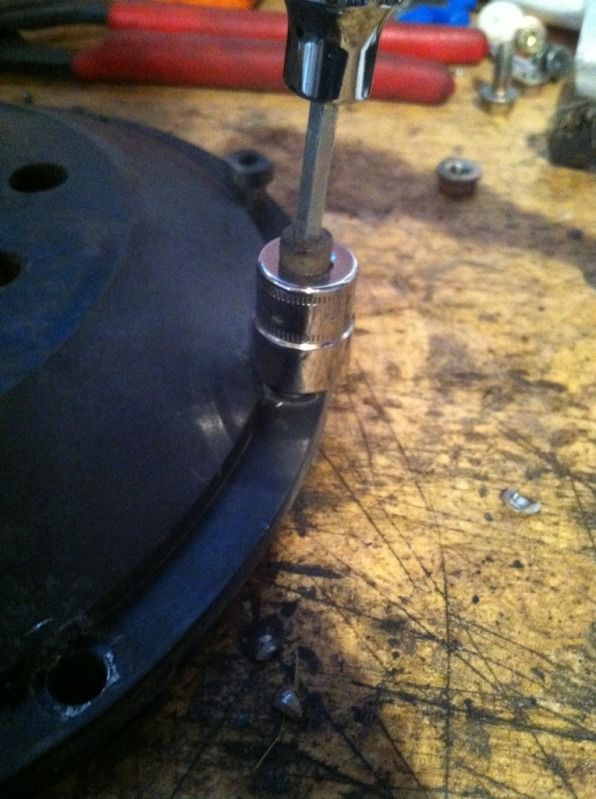
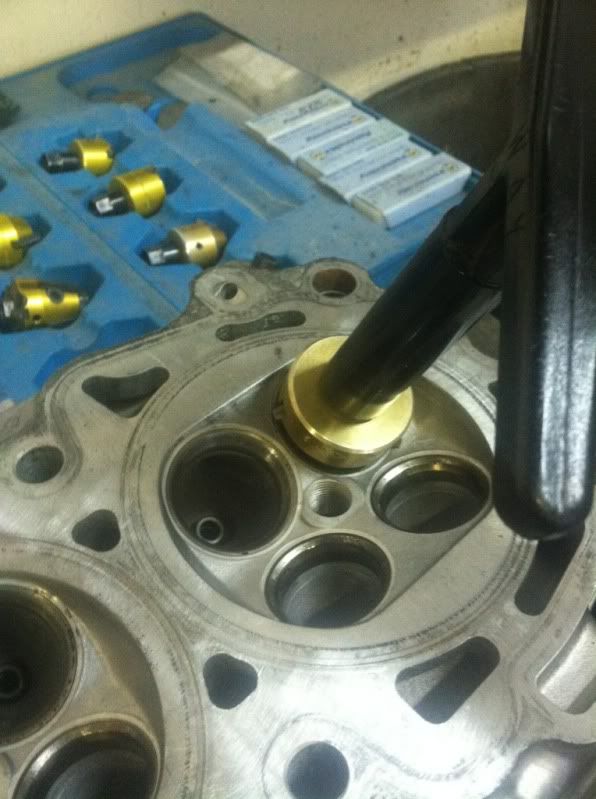
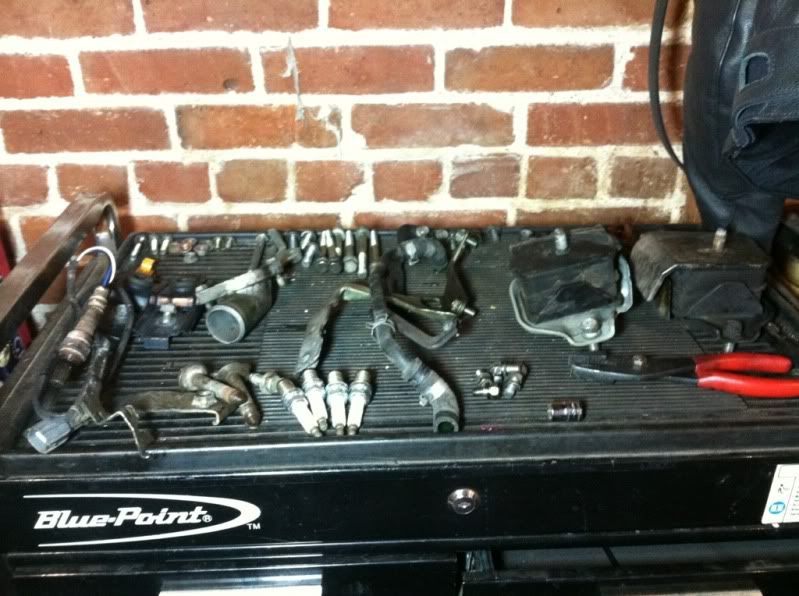
AR Design and had him order me up some Hawk HPS pads and Stoptech replacement rotor rings in the size I assumed I needed. What? Measure? LOL. I set the shiny new rings on top of my old rings after I removed them and everything looked perfect, so I went ahead and started disassembling. Holy rust, Batman. I had to devise a method to get all of the old hardware out of the hats because no amount of hammering would do the trick. I ended up using the old screws to pull the female threaded part out of the hat by sticking it though a 1/4 drive socket that was big enough for the threaded part to fit into. In most cases, it broke the threaded female piece, but once it was broken, I was able to hammer it out of the hat. Pic for clarification:


Here's a close-up photo of the new hardware. This is what I meant by "threaded female part":


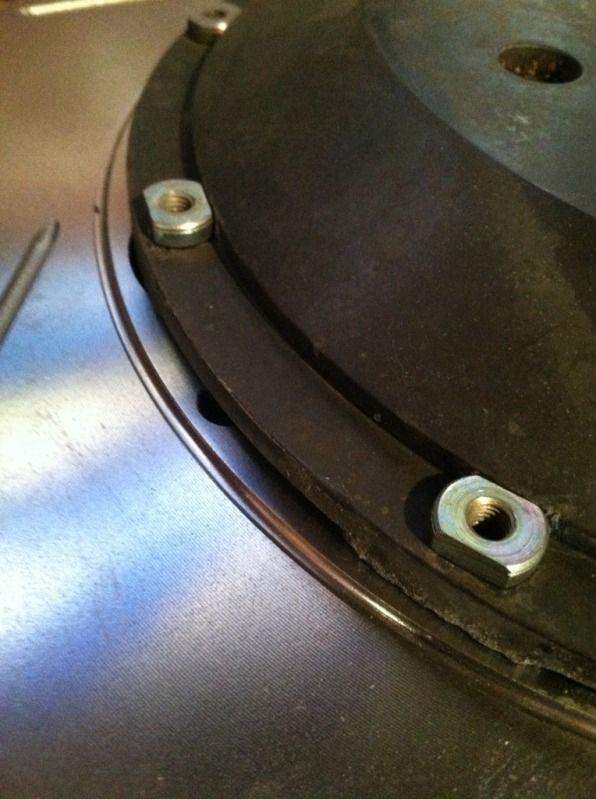
Unfortunately when I went to take the above photo was right around the time I realized the rotor rings I had weren't quite right. The holes for the bolts were ever so slightly off. We're talking a matter of millimeters. Everything looked right, but the holes in the hats just wouldn't line up. I also noticed that the rusty old hats were developing hairline cracks around the bolt holes, which could very well have been from me wailing on them with a hammer. At any rate, I knew my car wasn't going back together that day.

I ended up shipping the wrong rotor rings back to Stoptech and ordering pre-assembled rotors with hats. This is very expensive. Do not recommend. List price is $1295. $1295 is a lot of money for rotors. This is why people don't install big brake kits on daily drivers. It was also supposed to take two whole weeks for Stoptech to make them and ship them out. I got lucky and it only took about 5 business days.

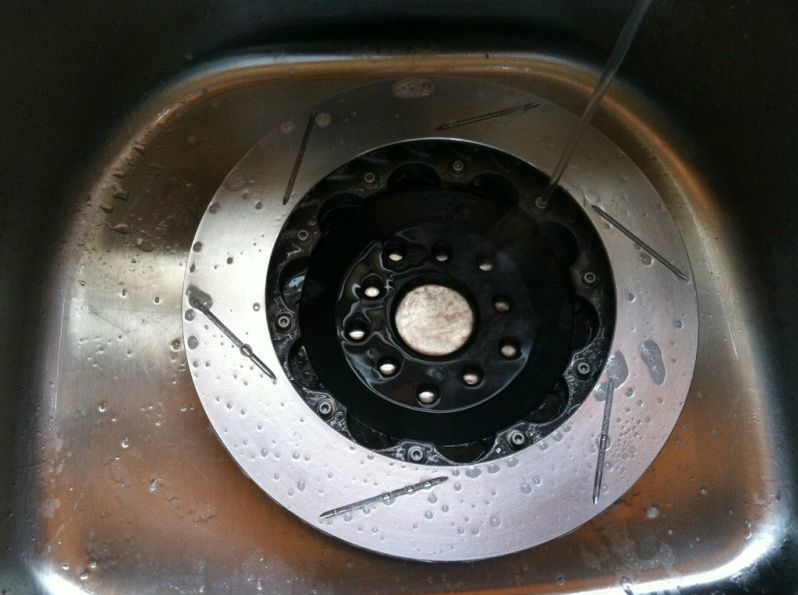
This is what a very expensive rotor looks like in my kitchen sink. Stoptech's instructions say to wash with soap and water, then clean with brake clean. I followed directions like a good girl.


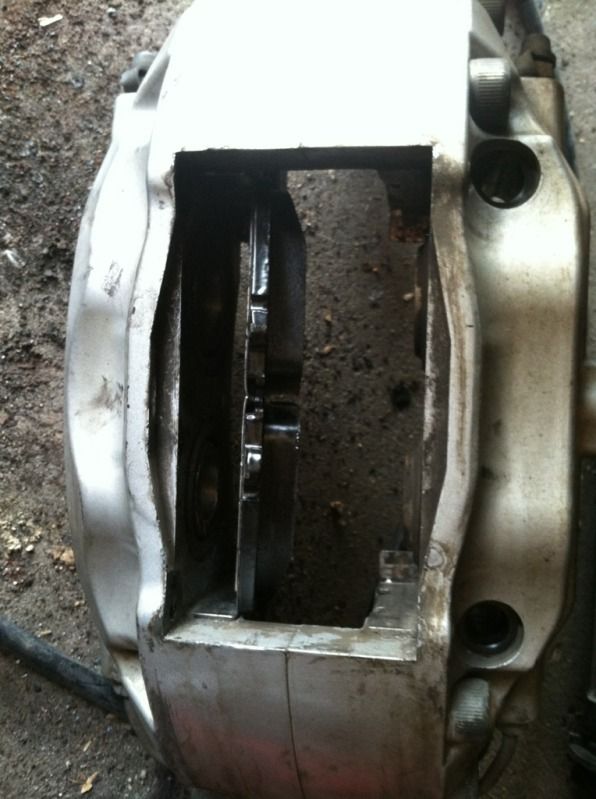
This is what happened when I went to install my pads:


In case you can't tell what's going on in this picture, the pads wouldn't quite fit. There are little stainless steel pieces that bolt to the caliper and hold the pad on either end. I ended up calling Stoptech to ask WTF I was supposed to do and the man I spoke with explained that sometimes dirt and corrosion will build up behind those stainless pieces and prevent the pad from fitting properly. Option A would be to remove the stainless pieces (they're held in by a T20 screw) and clean behind them. He didn't recommend that, and I wasn't comfortable with the idea. 99% chance I would have stripped or broken the screw. Option B was to file the pad down on either end. I ended up going with option B. Took quite a bit of filing, but I eventually got the pads to fit. It was a pain. I hope these things last a long, long time.

The following is a very bad picture of a very expensive rotor under a very cheap wheel. Now accepting donations for sweet forged JDM tyte rimz.


Saturday, March 10, 2012

Please vote!

https://www.facebook.com/photo.php?fbid=10150586098021167&set=a.10150586097401167.374275.352525621166&type=3&theater

If you vote for me, Cody of CL Photography will take some really awesome pictures of my car(s)!

Please, thank you!

Friday, March 9, 2012

Victory is mine!

I've been slacking on the updates and pictures, but it's been a crazy week! Did a clutch on a BMW and one on an STi, AND worked a normal 40 hour week. Yikes.

After a week or so of battling the stupid turbo install with no success, I FINALLY figured out what the problem was (not that I ever mentioned the problem on here...because I'm a slacker). I was having trouble getting the turbo lined up with the turbo inlet because the coolant lines kept hitting the bellhousing. I fought it and fought it and tried installing the old turbo and that wouldn't fit either, and I finally gave in and bought a new uppipe. The flex joint on the old BPM uppipe that came with the car was worn out and somewhat collapsed so the turbo was sitting too low.


Of course after buying a new TurboXS flex uppipe, I found TWO spares in the back of my sister's car that I had completely forgotten about. One aftermarket non-flex and one stocker.  Uppipe, anyone? I give you special price. 

Anyway, I got the turbo in, filled fluids, finished removing the POS aftermarket alarm and associated wiring, and...dundundun...


Still gotta tighten up the power steering belt 'cause it's squealing, then it should be ready to go up to Harvey for its break-in tune. I drove it about 4 miles last night, and HOLY CRAP, it needs suspension. The coilovers knock and clunk like they're loose, but they aren't. That's definitely going to be a priority.

Sunday, February 26, 2012

The bolt thief...

Looking back at my last post and then today's post makes me realize how bad I am at remembering to take pictures. There's a big gap in my picture taking timeline. Oops. Sorry.

Last Monday, we put the finishing touches on the motor and I brought it home in the back of the fast wagon (which I conveniently forgot to photograph). It fits perfectly in the back, for future reference. It sat in my garage all week untouched until last night. I was working away, putting the clutch and flywheel on with brand new bolts that came individually packed in little plastic bags. I went to install my PCV valve, which had been sitting right next to me, and couldn't find it anywhere. Looked under the car, checked every box, searched the entire garage, then started retracing my steps. I walked into the yard and found it on the ground, along with a few other bolts. Went inside and found more in my dog's bed. My dog had been running into the garage with a strange sense of urgency, then quickly running back out. He always does odd things like that, so I didn't think much of it, but the little brat was stealing my bolts!

My friend came over today and helped me get the engine installed. The only things left to install now are the turbo and exhaust, radiator, airbox, and a few other little things. I was so busy, I only remembered to take one picture.


Wednesday, February 15, 2012

Clooooser!

My engine is ALMOST there. We would have finished if I had thought to order EJ20 cam seals, but at least the hard part is over! Got the heads decked and built:


Block decked:


And assembled (with the help of Jason at CCR - the trick is to listen to Frank Sinatra while building your engine):


Here's what it looked like when I left this afternoon:


And one of my camshaft has my initials on it! Shut up, I thought it was cool. 


Thursday, February 9, 2012

Tool Time!

I spent my day on Tuesday in Subaru heaven. Colorado Component Rebuilders is the mecca for Subaru junkies. Shelf after shelf of blocks and heads and tools and pieces and parts and Subaru posters on the walls. From those parts, they turn out what are essentially brand new Subaru engines. My 2.5 years working for them is partially responsible for my Subaru obsession, I'm sure. The owners, Rick and Emily Johnston, were nice enough to grant me access to their shop and equipment to rebuild the engine in my new daily driver.


My first step was to tear the engine down and assess the damage.


Luckily, I had prepared myself for the worst, and what I found was about what I had expected. The engine had accidentally the whole ring land on cylinder 4. Unfortunately, the block was too scored to simply be honed, so it's off to the machine shop to be bored out and I've got a fresh new set of CP .20 over pistons on order. No big deal, just a $500+ setback. Sadface.


Once the block was torn down, I spent the afternoon cleaning everything up. I wasn't originally planning on rebuilding the heads, but I figured since I had all day and couldn't get started on the block, I might as well. Plus, it's what I do best!


Soda blaster!


Grinding valves and cutting seats, and that's right where I left her until next week when I get the block back.


Sunday, February 5, 2012

Wiring Deja Vu

I could have sworn I've already done this...oh, wait...that was the other car. Despite my ambitiousness and good intentions, I didn't get a whole lot done this weekend. I managed to crouch in the snow just long enough to remove the UTEC and the a-pillar gauges, a whole bunch of ugly alarm wiring and butt connectors, and that's about it. I was far too frozen to put anything back together. While most people are drinking beer, eating nachos and watching football, I was playing with wires...


Look familiar? Left it looking more or less like this:


Sunday, January 29, 2012

0 horsepower.

Spent the rest of the day Thursday disconnecting things and getting the motor ready to come out, then pulled it this afternoon. The plan is to rebuild my existing motor at Colorado Component Rebuilders, and ditch the big turbo and Utec for something more suitable for a daily driver. I'm currently in the market for an excellent condition STi turbo (VF39, VF48, whatever...don't really care) and intercooler, and the PE1820, Utec, and APS top mount intercooler are for sale.

Here's what the car looked like as of about 14:30 this afternoon:


Spent a few more hours cleaning, and now it looks about a million times better!


My pile 'o fasteners and a goodnight shot...


Bad news.

I was really hoping that the blue smoke coming from the new car would be something easy. A bad turbo, or even a bad PCV valve. It seemed to be running okay, aside from the occasional flicker of the check engine light, and it wasn't making any unusual noises.

Wednesday night, I had a dream that I did a compression test on it, and the left front cylinder had no compression (that's normal, right?). Thursday was my day off, so I pulled the turbo and found a ton of oil in the intake and intercooler. The turbo inlet hose was soft and eroded from all of the oil. The turbo had no shaft play whatsoever and I couldn't find anything wrong with it. Bad sign. I pulled the plugs on the passenger side and everything looked okay, both cylinders passed the compression test with flying colors. There was hope. Pulled the plugs on the drivers side, and found this...


Left rear cylinder wasn't looking too pretty. Checked the compression, and...

Nada. Damnit.


New car!

I was offered a deal I couldn't refuse on another 2002 WRB wagon, so I decided to make it mine. It was super cheap, but it was smoking like crazy, so I wasn't really sure what to expect. Photo stolen from the previous owner.


ENGINE:
650cc Injectors
APS Large Top Mount Intercooler
Blitz FATT Turbo Timer
BPM Crossover Pipe
BPM GT Turbo‐back Exhaust
BPM Up‐pipe
UTEC ECU with ProTune
NGK Colder Spark Plugs
PE 1820 Turbo
STi Shortblock (installed November 2006)
Tein Hood Dampers
Vishnu Intercooler Hoses
Vishnu Lightened UD Pulley
Walbro 255 Fuel Pump (new when shortblock was installed)

TRANSMISSION:
Kartboy Short Shifter w/comfort bushings
RA Gearset
STi Lightened Flywheel
STi Tranny Mounts

SUSPENSION:
Anti‐Lift Kit w/Comfort Bushings
AMS Front Strut Bar
Custom Skid Plate
Group N Mounts
GT Spec 3‐piece Subframe
Megan Racing Coilovers
Perrin Rear Solid Endlinks
Progress Rear Adjustable Swaybar w/mounts
STi Replica Rear Strut Bar
Whiteline Adjustable Lateral Links
Whiteline Front Endlinks
Whiteline Front Sway Bar
Whiteline Steering Rack Bushing
Stop Tech Front Big Brake Kit

INTERIOR:
2005 USDM STi Gauge Cluster
Megan Racing Pillar 3‐Gauge
Momo Shift Knob (blue/black leather)
Red Interior Lighting Color Change
STi V8 Front Seats
20% Tint

EXTERIOR:
Clear Side Markers
Hella Supertones
JDM Pink "i" Grill Badge
Modded Headlights
Painted Fog Light Cover Screens
Roof Rail Deletes
STi Hood Scoop
STi V8 Painted Sideskirts

WHEELS / TIRES:

Rota Tarmac II (royal black) with Hankook Icebears 225/45/R17
– Not currently on the vehicle, but included
Rota Tarmac II (bronze) with Kumho Ecsta All‐weather 225/45/R17


Sunday, January 1, 2012

14 MPG

I've put about 300 miles on the wagon now since the tune. Aside from a strange high idle issue, it's running really well and seems really happy. Changed the oil yesterday, but forgot to save some to send to Blackstone. So far, it looks like I'm averaging 200 miles per tank and 14 miles per gallon.

On an unrelated note, my Bimmerforums Secret Santa sent me an excellent gift. If you're still stalking me, thanks again, Secret Santa. :) Need to fab a bracket and stop at Radio Shack, then I will install.


Hmm...what should I do with this?

Options:

-Coffee table
-Sleeved stroker
-Chrome plate it
-Use it as a pillow
-Aluminum recycler
-Put it in my trunk and tell everyone I've got a dual engine WRX